Add/Remove Collection Documents
When a Collection is open, all Documents that belong to it can still be edited, added or removed. The unique thing about Collection Documents is that they're always opened in the Collection context.
This is especially useful for linking because backlinks to Work Items appear in the Document  Revisions or
![]() Document Baselines selected for the Collection and all outgoing links from these Documents will only go to other Documents within the Collection.
Document Baselines selected for the Collection and all outgoing links from these Documents will only go to other Documents within the Collection.
You need to create a Collection before you can add or remove Documents.
For already added Documents, you can easily replace one revision with another, change a baseline revision to the HEAD, or any other permutation.
Click on
 Collections in Navigation.
 The Collections detail screen appears with a list of Collections at the top.
Select the Collection from the list that you'd like to add or remove Document(s) for.
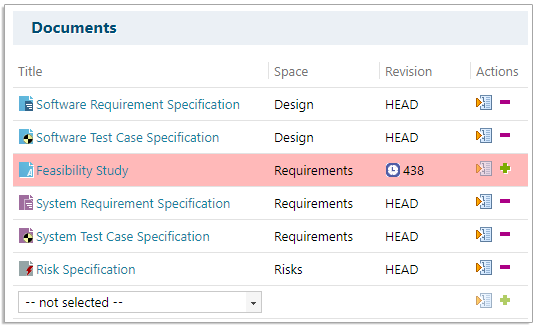
The Collection's current Documents (if any) appear below the table of Collections.
Click
 on the right of the Documents header.
Here you can add or remove Documents to the Collection:
Add a Document:
Select a Document that you want to include from the Title drop-down menu and click
 .
.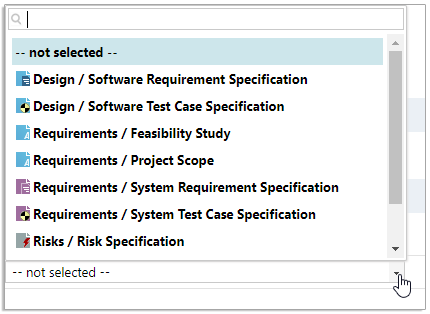 Tip:
Tip:Type something in the
 field to filter your options.
(Optional) The HEAD (latest) revision of the Document is selected by default but you can also select an earlier Baseline or Revision by clicking
 .
.The Select Document Revision dialog box appears.
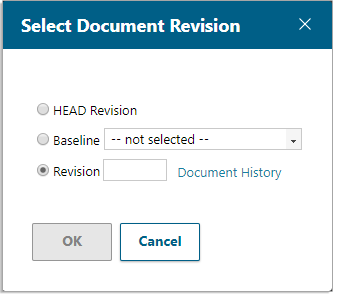
Select a Baseline or enter a Revision number and click OK.
Tip:Not sure what Revision number or Baseline you need? Click the Document History link to view all available options.
Repeat this process for all the Documents that you want to add to the Collection and click
 Save.
Save.
Remove a Document:
Click
 to the right of the Document(s) that you want to remove.
The Document is highlighted in red.
(If you select the wrong Document, click
to cancel the selection.)
Repeat this process for all the Documents that you want to remove from the Collection and click
Save.
Collection Consistency Check
This check can take a while and can be resource-intensive depending on the number of Documents in the Collection, the total amount of Work Items they contain and the links between them.
When you click  Check Consistency it does the following:
Document checks;
Lists all Documents,Work Items and links in the Collection in the log.
Looks for duplicate Documents in the Collection.
Looks for unresolvable Documents in the Collection.
Work Item link checks;
Reports any links to a specific revision that are not given by the Collection.
Reports any unresolvable items.
Reports all links from a specific revision to the HEAD.
Reports any links to items that fall outside the collection.
(Links that were created before a Document / Work Item was added to the Collection.)
Reports any Work Items within the Collection that have multiple revisions.
Run a Consistency Check:
Click on
Collections in Navigation. The Collections detail screen appears with a list of Collections at the top.
Select the Collection that you'd like to check.
The Collection's details and Documents appear below the table of Collections.
Click
Check Consistency.The Consistency Check dialog box appears.
Click Start.
A confirmation dialog appears stating that the Consistency Check job has started.
Click the job log link to launch the log in a new browser tab and view the progress and results.
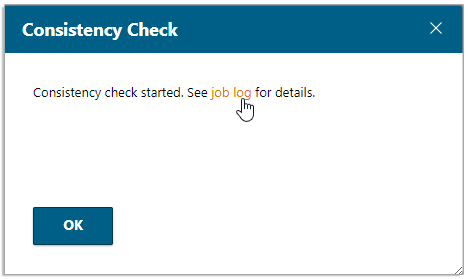
Click OK when you're finished viewing the consistency report.